This wizard step will help you to boot from a media.
Now you need to decide either if you are going to use an usb pendrive or if you are going to use a cdrom (or dvd) media for storing Rescatux.
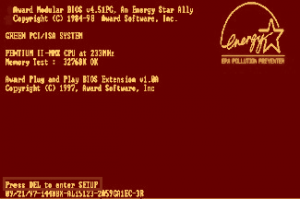
This wizard step will help you to boot from a USB pendrive media either Rescatux or Super Grub2 Disk medias. It might be used to boot from other bootable disks too. This wizard step will let you turn on your computer so that you can do something useful such as using a Rescatux, Super Grub2 Disk or even using your usual Operating System (maybe Windows). Even if you have a laptop, as you are probably performing rescue tasks, we recommend that you plug the power cord both in the computer and into a wall socket (the mains). If you are using Laptop make sure to open its screen. Usually it works as if you were turning a book page but only half the way or you will break your laptop screen. That lets you see what’s happening in your Laptop screen and usually helps finding the ON / OFF button. If you are using a non-Laptop computer you will need to make sure that its associated screen has its data cord connected to both the screen itself and the computer. And, of course, you need to turn the screen on by pushing for about one second an special button usually labelled as (0/1). You need to find an special button that it’s usually labelled as (0/1) that let’s you turn on the computer. Usually pressing the computer button for about one second is enough to turn it on. If you happen to see some letters and images in the screen then you have finished this wizard step because your computer has been turned on successfully. There are three ways of booting into your USB which we are going to describe. If your computer is already setup to boot from an external USB media your media will boot automatically. If your computer isn’t setup to boot from an external USB you might need to force boot manually by using a so called Boot menu. Try with F12, F10 or whatever key is suggested at boot in order to open the boot menu. Then select either USB, hard disk/USB-HDD0, or your device name by using up and down cursor keys and press Return key. Or by pressing its associated number. This method ensures that you are booting from a USB device. However it might be the most difficult one to use. When you see a message that asks your press a key to enter the BIOS setup just press that key. These keys are usually: F1, F2, DEL, ESC, F9 or F10. Then depending on your BIOS you should be able to find a boot order option which lets you change your devices boot order. Make sure the USB pendrive device is the first one in the boot order. Then save the BIOS settings and quit BIOS setup utility. Computer will be reboot afterwards. Finally the USB media boots. Usually you see a screen menu that represents your media logo or an equivalent logo in text. When you see such such a logo or text then you have finished this wizard step.Boot from an USB pendrive media
Turn off the computer
Insert media USB pendrive media in a USB socket in the computer
Turn on the computer
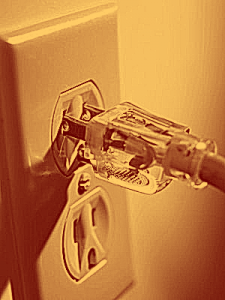
Plug your computer power cord into the mains wall socket
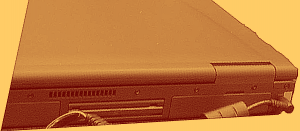
Open the lid (Only laptop)
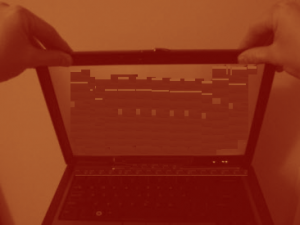
Press the screen ON / OFF button (Only non-laptop)
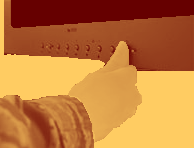
Press the computer ON / OFF button
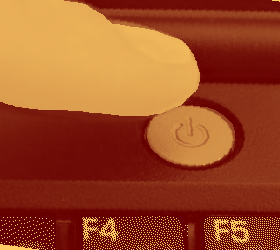
Letters appear in screen
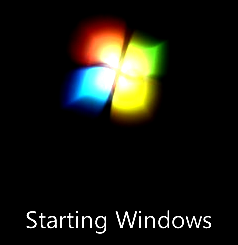
Boot finally into USB
Boot automatically
Boot thanks to Boot Menu
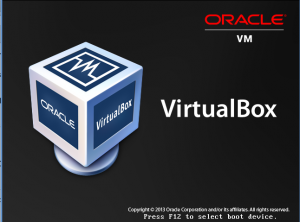
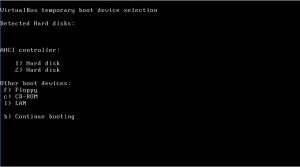
Change Boot Order in BIOS
USB media boots
Boot from a CDROM (or dvd) media
No infor on how to to boot from a CDROM (or dvd) media yet. Sorry.
Mine keeps going into grub rescue mode